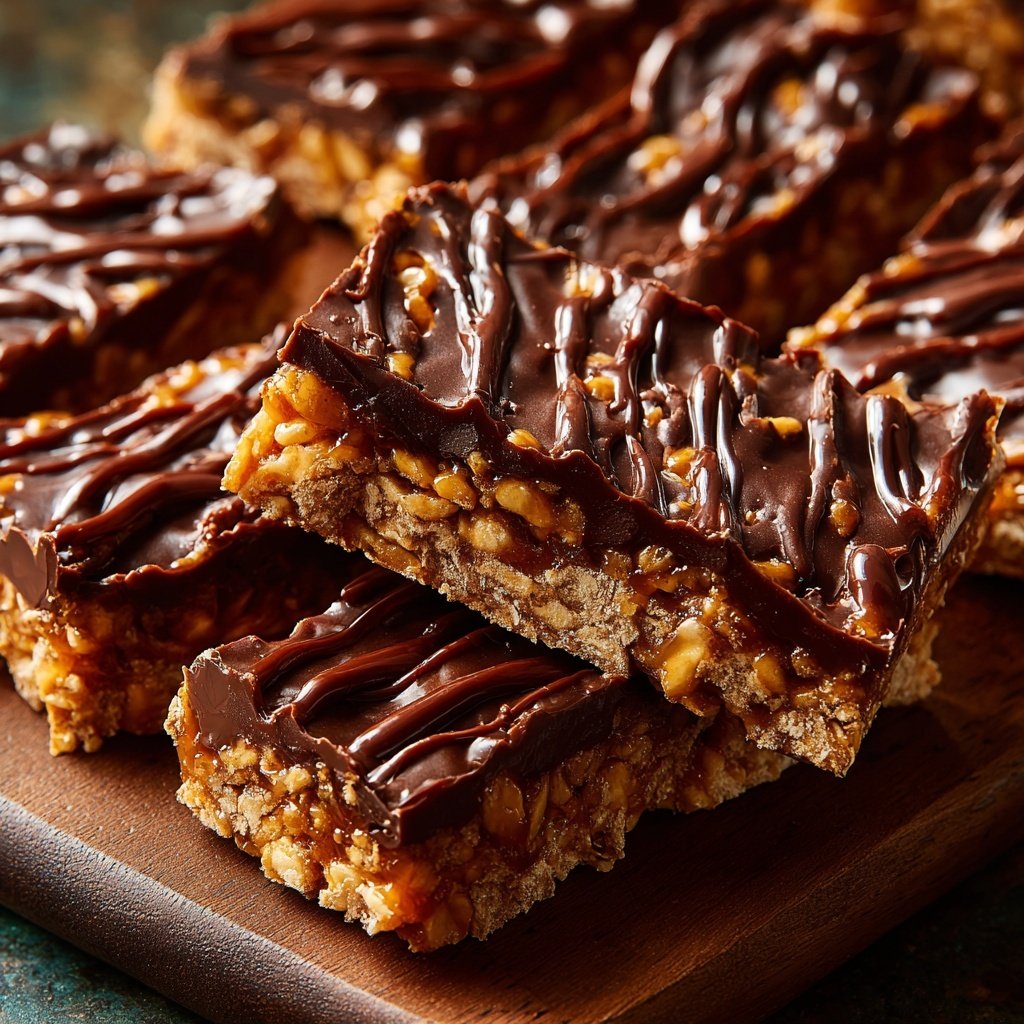
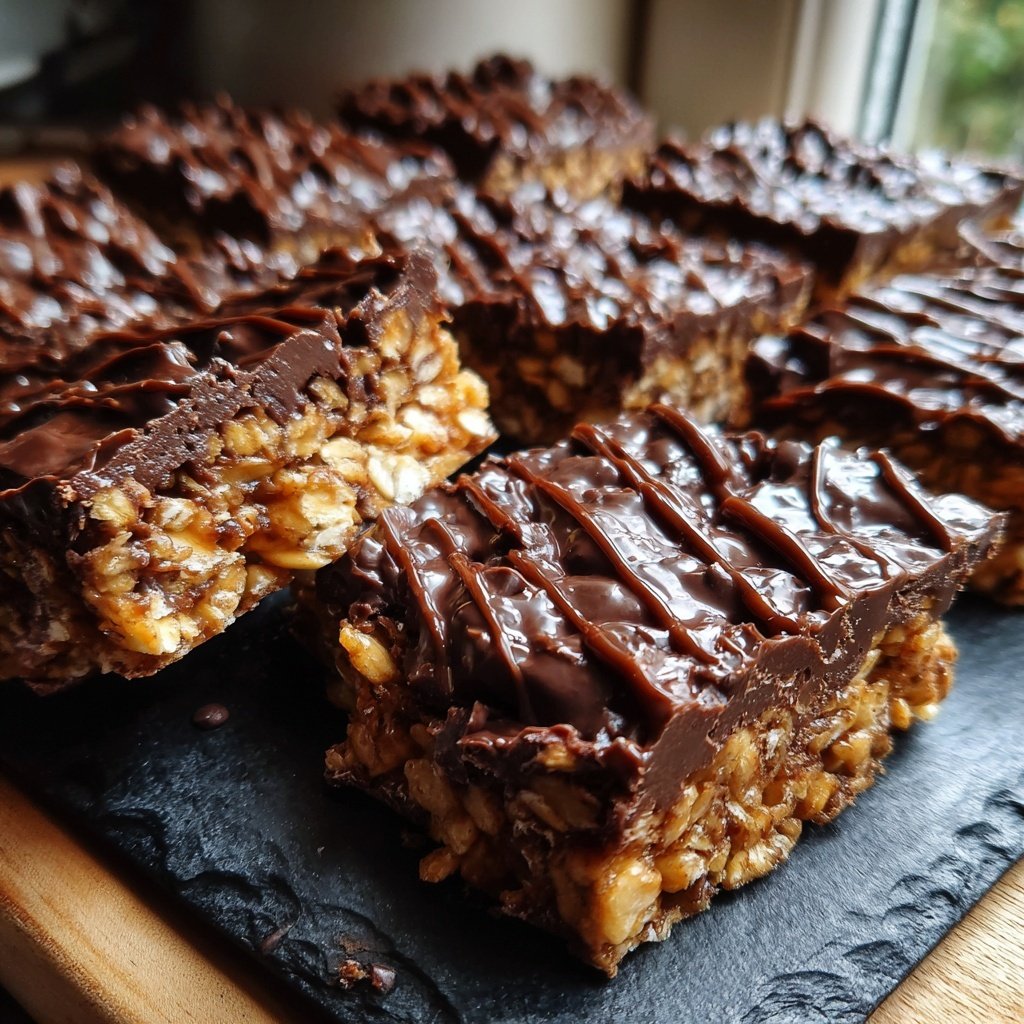
Chocolate Honeycomb Bars
Highlighted under: Soft Inspiration
I absolutely adore making Chocolate Honeycomb Bars in my kitchen. The combination of rich chocolate and light, crunchy honeycomb creates a delightful texture that is hard to resist. It's become a family favorite, especially during gatherings as they offer a beautiful balance of sweetness and flavor. Plus, they're surprisingly simple to prepare, letting me enjoy the process as much as the treats themselves. Believe me, once you try them, you'll find yourself reaching for more!
When I first stumbled upon the idea of making Chocolate Honeycomb Bars, I was hesitant about the process. However, I quickly discovered that creating the honeycomb itself was easier than I anticipated. The key is to allow the sugar to dissolve completely before adding the bicarbonate of soda, which gives it that perfect lift. The result is a light and airy texture that complements the chocolate beautifully.
Each time I make these bars, I experiment with different types of chocolate. I’ve learned that using a mixture of dark and milk chocolate provides a richer flavor profile. Plus, let’s not forget the joy of breaking into a fresh batch – the satisfying crunch of the honeycomb is simply irresistible and leaves everyone wanting more!
Why You'll Love This Recipe
- Crunchy honeycomb adds a unique texture to the rich chocolate
- Perfect for sharing at parties or enjoying as a sweet snack
- Easy to make with just a few ingredients
Mastering the Honeycomb
Creating the perfect honeycomb requires careful temperature control. Use a candy thermometer to ensure the sugar mix reaches around 150°C (302°F) for that deep amber color. If the mixture begins to smell burnt or turns too dark too quickly, it's likely overcooked. Conversely, if it's too light, the honeycomb may fail to set properly, resulting in a chewy texture rather than the desired crunch.
Once you add the bicarbonate of soda, whisk vigorously to incorporate air, which causes the mixture to froth and expand. This aeration is crucial for achieving that light, crunchy structure. If you prefer a less sweet option, consider substituting half of the granulated sugar with a sugar alternative, but keep in mind that this may alter the final texture.
Chocolates for Topping
Selecting the right chocolate is essential for the best topping. Dark chocolate with at least 70% cocoa will provide a robust flavor that balances the sweetness of the honeycomb. If you're looking for a smoother finish, opt for a chocolate with a lower cacao percentage, but keep in mind this will increase the sweetness. Always choose high-quality chocolate for melting, as it impacts both flavor and texture when set.
Melting technique plays a key role in achieving that glossy finish. Use a double boiler for even heating, stirring gently until fully melted and smooth. Be mindful not to overheat the chocolate, as it can become grainy. If you find your chocolate is seizing, a small splash of neutral oil can restore its texture. This topping is versatile, so feel free to experiment by folding in nuts or adding a hint of espresso for an enhanced flavor profile.
Serving and Storing
Once your bars are set and cut, they can be stored in an airtight container at room temperature for up to a week. For longer storage, consider refrigerating them to maintain freshness, where they will last up to two weeks. If you prefer a firmer texture, cutting the bars while they are still slightly chilled can help achieve cleaner edges.
For a fun variation, you can add toppings such as crushed nuts or drizzled caramel to the melted chocolate before it sets. This not only enhances flavor but also adds visual appeal. If you’re preparing these for a special event, you might even layer the bars with different types of chocolate for a colorful presentation, offering a delightful surprise with each bite.
Ingredients for Chocolate Honeycomb Bars
For the Honeycomb
- 200g granulated sugar
- 80ml water
- 1 tablespoon bicarbonate of soda
For the Chocolate Topping
- 300g dark chocolate, chopped
- 100g milk chocolate, chopped
- Pinch of sea salt
Steps to Make Chocolate Honeycomb Bars
Prepare the Honeycomb
In a saucepan, combine the sugar and water over medium heat. Stir gently until the sugar dissolves completely. Once it boils, do not stir further and cook until it reaches a deep amber color (about 5-7 minutes). Quickly remove from heat and whisk in the bicarbonate of soda until it froths up. Pour onto a lined baking sheet and let it cool.
Melt the Chocolate
While the honeycomb cools, melt the dark and milk chocolate together in a heatproof bowl over simmering water, stirring until smooth. Remove from heat and add a pinch of sea salt for extra flavor.
Assemble the Bars
Once the honeycomb is completely cooled, break it into bite-sized pieces. Layer the pieces in a square baking pan and pour the melted chocolate on top, ensuring all the honeycomb is covered. Refrigerate until set, then cut into bars and enjoy!
Pro Tips
- For a twist, try adding nuts or dried fruit to the honeycomb mixture. Ensure to use a good-quality chocolate for a richer flavor, and be careful not to overheat the sugar to avoid bitterness.
Troubleshooting Honeycomb
If your honeycomb doesn’t set properly, it may have been cooled too slowly. To remedy this, try reheating the mixture back over a low flame just until it gets liquid again, then quickly add the bicarbonate of soda. If it's too hard and difficult to bite, it was likely cooked for too long; next time, remove it from heat earlier to catch that perfect amber stage.
In case your honeycomb is overly sticky, the solution might lie in adjusting the amount of bicarbonate of soda. You may also experiment with varying the types of sugar used, as some can produce a stickier candy. When experimenting with sugars, keep in mind to maintain the right balance, aiming for a ratio that works harmoniously to achieve your desired final product.
Scaling the Recipe
If you’re looking to scale this recipe for a larger crowd, simply double the ingredients while maintaining the same cooking times. However, use a larger saucepan to prevent overflowing, and ensure even heat distribution. You may also need to use a larger baking sheet when pouring out the honeycomb mixture for it to cool correctly.
Conversely, if you wish to make a smaller batch, dividing the ingredient amounts by half works perfectly. Just be cautious to monitor the cooking time closely, as it might slightly decrease. Always trust visual cues for color and texture, rather than strictly the timer, to ensure your bars turn out beautifully every time.
Questions About Recipes
→ Can I use other types of sugar?
While granulated sugar is best for honeycomb, you can experiment with brown sugar for a different flavor, though the texture may vary.
→ How long do these bars last?
Chocolate Honeycomb Bars can be stored in an airtight container for up to a week, but they're best enjoyed fresh!
→ What can I substitute for bicarbonate of soda?
Bicarbonate of soda (baking soda) is essential for the honeycomb texture; do not substitute it in this recipe.
→ Can I make these gluten-free?
Yes, this recipe is naturally gluten-free, as it does not contain any flour or gluten-containing ingredients.
Chocolate Honeycomb Bars
Created by: Darcy Penrose
Recipe Type: Soft Inspiration
Skill Level: Intermediate
Final Quantity: 12 bars
What You'll Need
For the Honeycomb
- 200g granulated sugar
- 80ml water
- 1 tablespoon bicarbonate of soda
For the Chocolate Topping
- 300g dark chocolate, chopped
- 100g milk chocolate, chopped
- Pinch of sea salt
How-To Steps
In a saucepan, combine the sugar and water over medium heat. Stir gently until the sugar dissolves completely. Once it boils, do not stir further and cook until it reaches a deep amber color (about 5-7 minutes). Quickly remove from heat and whisk in the bicarbonate of soda until it froths up. Pour onto a lined baking sheet and let it cool.
While the honeycomb cools, melt the dark and milk chocolate together in a heatproof bowl over simmering water, stirring until smooth. Remove from heat and add a pinch of sea salt for extra flavor.
Once the honeycomb is completely cooled, break it into bite-sized pieces. Layer the pieces in a square baking pan and pour the melted chocolate on top, ensuring all the honeycomb is covered. Refrigerate until set, then cut into bars and enjoy!
Extra Tips
- For a twist, try adding nuts or dried fruit to the honeycomb mixture. Ensure to use a good-quality chocolate for a richer flavor, and be careful not to overheat the sugar to avoid bitterness.
Nutritional Breakdown (Per Serving)
- Calories: 250 kcal
- Total Fat: 14g
- Saturated Fat: 8g
- Cholesterol: 15mg
- Sodium: 40mg
- Total Carbohydrates: 28g
- Dietary Fiber: 1g
- Sugars: 25g
- Protein: 2g